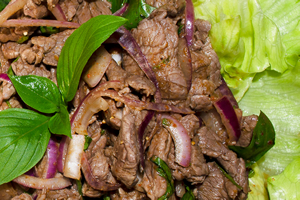
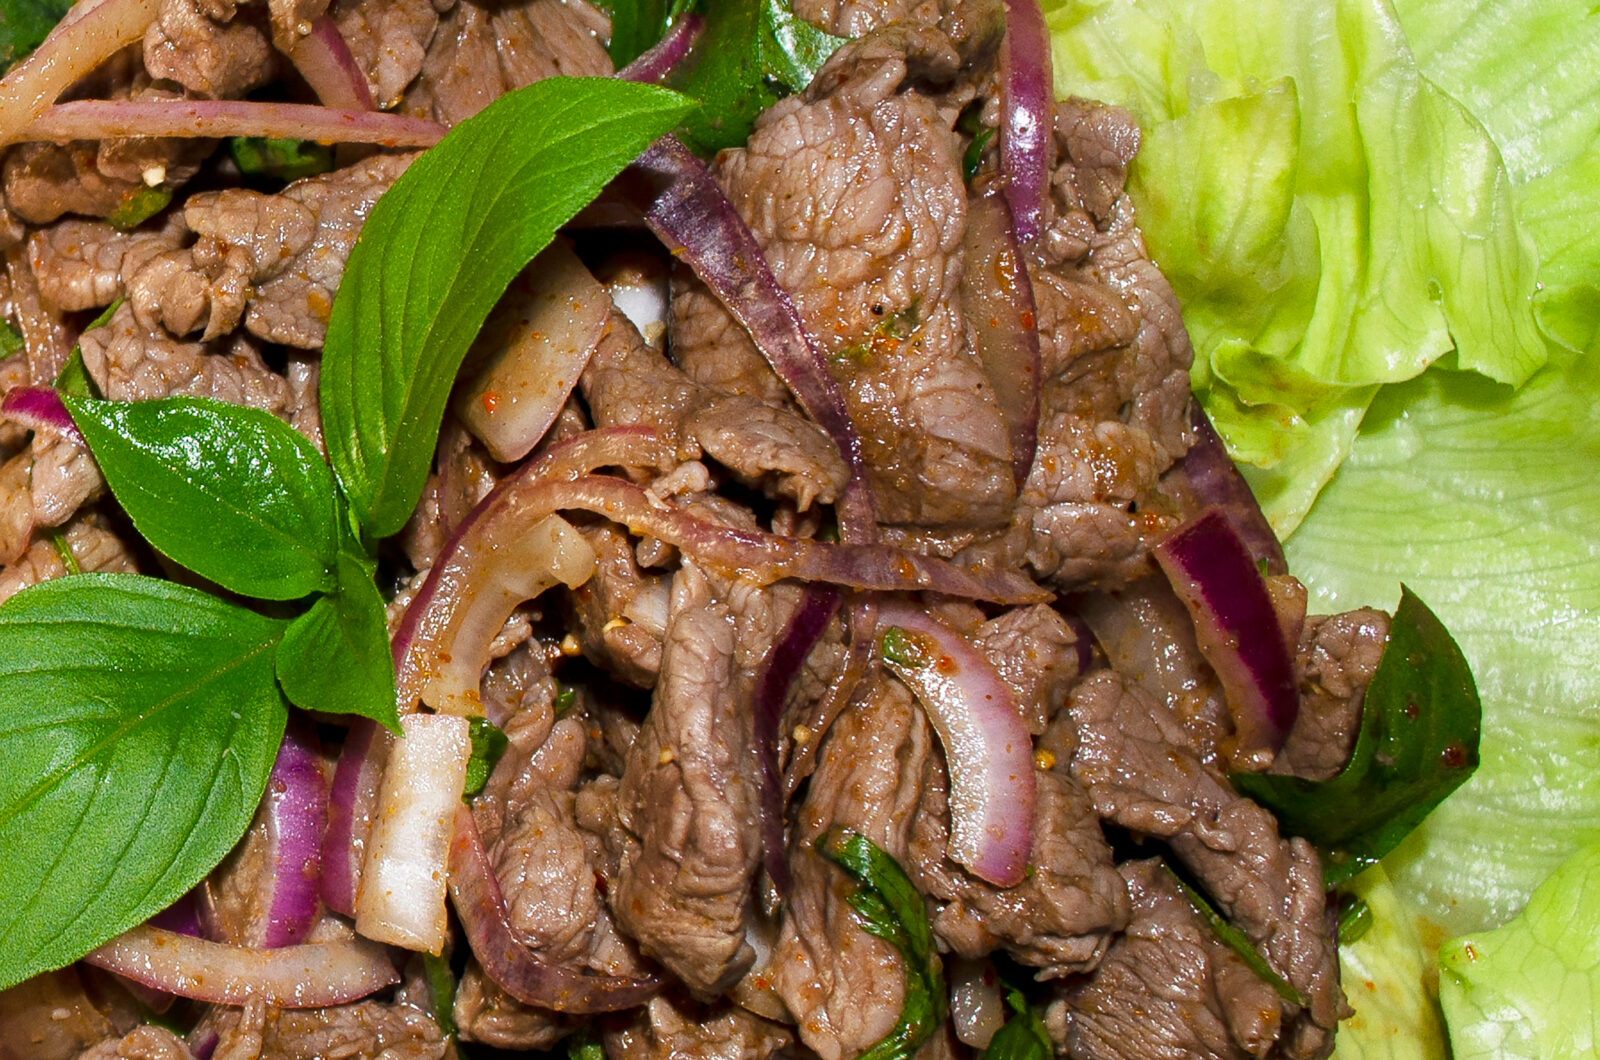
Crying Tiger Beef
Course: AppetizersCuisine: ThaiDifficulty: Easy
Servings
4
servingsPrep time
10
minutesCooking time
20
minutesCalorieskcal
Cook Mode
Keeps the screen of your device on.
Ingredients
- Marinade
500 g beef sirloin or tenderloin
2 tbsp soy sauce
1 tbsp fish sauce
1 tbsp oyster sauce
1 tbsp sugar
1 tsp ground black pepper
2 cloves garlic, minced
1 tbsp vegetable oil
- Dipping Sauce
3 tbsp fish sauce
2 tbsp lime juice
1 tbsp sugar
1~2 Thai bird’s eye chillies, finely chopped (adjust to taste)
1 tbsp chopped fresh coriander (optional)
- Serve
Fresh vegetables (cucumbers, lettuce, or Thai herbs)
Sticky rice (optional)
Directions
- Marinate the Beef:
In a bowl, combine soy sauce, fish sauce, oyster sauce, sugar, black pepper, minced garlic, and vegetable oil.
Add the beef and coat it well. Let it marinate for at least 30 minutes (or up to 2 hours in the refrigerator for more flavor). - Prepare the Dipping Sauce:
In a small bowl, mix together fish sauce, lime juice, sugar, and chopped chilies. Stir until the sugar dissolves. Adjust the flavors to your liking, adding more lime juice or sugar if needed. Stir in cilantro if desired. - Grill the Beef:
Preheat a grill or grill pan over medium-high heat.
Grill the marinated beef for about 3-5 minutes on each side, depending on the thickness and your desired doneness (medium-rare is recommended).
Once cooked, let the beef rest for a few minutes before slicing it thinly against the grain. - Serve:
Arrange the sliced beef on a platter with fresh vegetables on the side.
Serve with the dipping sauce and sticky rice if desired.
Notes
- Tips
For an authentic taste, try to use Thai bird’s eye chilies for the dipping sauce.
Adjust the spice level based on your preference – add more chillies if you like it hot!
Have you tried this recipe?
Tag @recipe.info on Instagram and hashtag it with #recipe.info